Camping Gear Setup & Takedown: A Step-by-Step Field Guide
Camping Gear Setup & Takedown: A Step-by-Step Field Guide
TL;DR: Set up in a fixed order — inspect the site, lay the footprint, build the frame, fly, then stake from the windward side — and take down in exact reverse. The two habits that actually extend gear life: never force a pole connection, and never store anything wet (hang it for 24-48 hours at home). A practiced camper pitches a 2-4 person tent in 10-15 minutes and breaks camp in under 20.
Building on safe handling practices, a systematic approach to setting up and taking down camping gear protects your investment and guarantees a secure, comfortable shelter. Most gear damage I've seen in the field — bent poles, torn floors, mildewed flys — traces back to skipping one of the steps below, usually in a hurry. Follow the sequence and your tent will outlast the one pitched next to you by years.
Step 1: Inspect the Site Before You Unpack
Before a single item comes out of the bag, walk your spot. Clear rocks, sticks, and pinecones in a circle about 2 feet wider than your tent on every side — one walnut-sized stone under a sleeping pad is enough to wear a hole through a tent floor in a single night. Look up for dead branches and widowmakers overhead. The ideal pitch is naturally flat with a 2-3 degree slope for water runoff; avoid depressions, which become bathtubs in a 1-inch rain.
Step 2: Footprint Down, Gear Staged
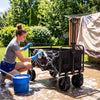
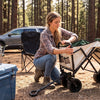
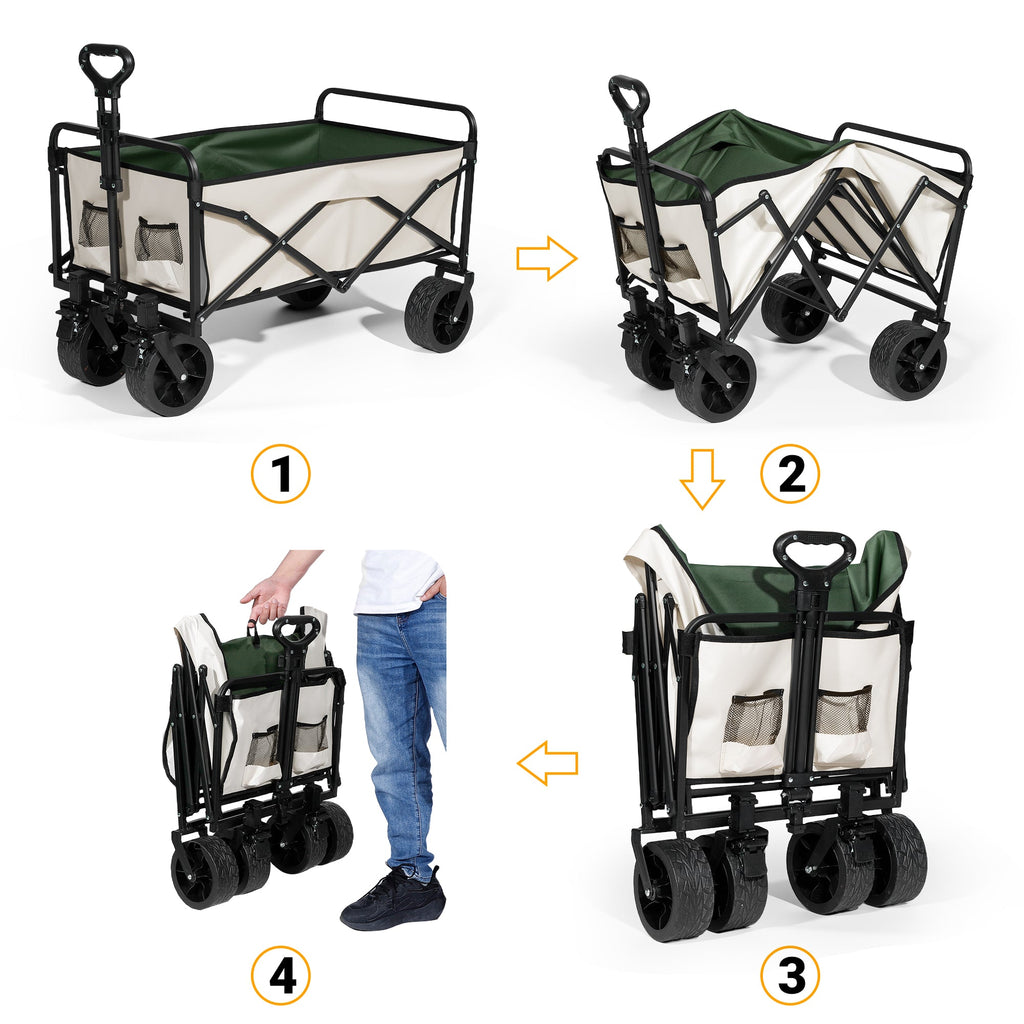
Lay your footprint or ground cloth to match the tent floor's shape, and tuck it completely under the tent — a footprint edge sticking out even 2 inches will catch rainwater and channel it directly underneath you. Then unpack and stage everything within arm's reach: body, rainfly, poles, stakes, mallet. Thirty seconds of staging saves five minutes of crawling around mid-pitch. If you're hauling all of this from the car, a folding wagon moves the whole kit — tent, pads, cooler, chairs — in one trip instead of four.
Step 3: Assemble the Frame Without Forcing It
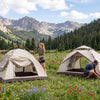
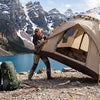
Lay the tent body flat on the footprint with doors facing where you want them. Assemble poles by sliding each section together until the ferrules seat — snug, never forced. A shock-corded pole that's jammed bends at the joint, and a bent aluminum section is done; replacements run $10-25 per segment. Insert pole ends into the corner grommets working from one end to the other, arch the structure upright for dome designs, then clip the body to the frame. Modern pop-up designs skip this entirely — our 2-4 person pop-up tent goes from bag to standing in about 60 seconds, which is why I recommend it to anyone who's ever fought poles in the dark.
Step 4: Fly On, Stake From the Windward Side
Drape the rainfly with its doors aligned to the tent's, buckle every strap, and tension it taut — a loose fly sags condensation onto the inner tent and flaps loud enough in 15mph wind to ruin a night's sleep. Stake starting on the windward side so the structure can't kite away mid-pitch. Drive stakes at a 45-degree angle away from the tent for maximum holding power; in soft soil, upgrade to 9-12 inch sand stakes or bury a deadman anchor. Guylines go last — they're for fine-tuning tension, not primary support.
Step 5: Organize the Interior Like You'll Live There
Sleeping pads and bags go in first, personal packs along the walls. Food and anything scented stays in a separate vestibule or a bear-resistant container at least 100 yards from the sleeping area in bear country. Headlamp, water bottle, and next-morning layers go in the same pocket every trip — the 2 a.m. bathroom run is not the time to search. Route any lantern cords along seams where nobody trips on them.
Step 6: Takedown in Exact Reverse — and Dry Everything
Strike camp in dry weather when you can. Empty and sweep the interior, pull stakes and guylines first, then the fly, then collapse poles section by section without bending. Shake dirt and leaves off the body and footprint separately. The step everyone skips: at home, hang the tent, fly, and footprint in a shaded, ventilated spot for 24-48 hours until bone dry. Storing a tent even slightly damp grows mildew within a week and delaminates waterproof coatings within a season — a $300 tent ruined by one lazy Sunday. Refold along different lines each time so creases don't permanently weaken the coating, and store everything together in a cool, dry place. For the deeper maintenance calendar, see our gear maintenance guide and the companion piece on storing gear between trips.
FAQ
How long should it take to set up a tent? A practiced camper pitches a standard 2-4 person dome tent in 10-15 minutes, footprint to guylines. Pop-up and instant designs cut that to 1-5 minutes. If setup regularly takes you over 20 minutes, practice once in the yard — fumbling happens when the sequence isn't muscle memory.
Should the footprint be bigger or smaller than the tent floor? Slightly smaller or exactly matched — never bigger. Any footprint material extending past the tent edge collects rainwater and funnels it under the floor. Tuck stray edges fully underneath before staking.
What angle should tent stakes go in at? 45 degrees, leaning away from the tent, driven until only an inch shows. This maximizes resistance to the upward pull of guylines. Straight-down stakes hold roughly half as well and work loose overnight in wind.
How do you dry a tent fast before packing up? Wipe condensation off the fly's underside with a pack towel, then drape fly and tent over a picnic table or guyline in morning sun and breeze for 20-30 minutes. Even if you pack damp to beat weather, hang everything within 24 hours at home — mildew needs only about a week in a damp stuff sack to take hold.
Is it bad to leave a tent set up for a long time? Yes. UV exposure degrades nylon and polyester fast — a tent left pitched continuously can lose half its fabric strength in a single summer season, and waterproof coatings break down with it. Strike camp within a day or two of your trip ending.

Written by Vivian J
Product Manager at Finvizo and an avid camper who tests gear on real trails. She writes from hands-on field experience to help you pick equipment that actually holds up outdoors.