Seasonal Gear Check: Inspect Before Your First Trip
TL;DR: A seasonal gear check takes 30-45 minutes in your backyard and catches about 90% of equipment failures before they ruin a trip. Inspect tent poles, zippers, and waterproofing (a $8 seam sealer refresh takes 20 minutes), air out anything stored damp — mildew grows in as little as 48 hours — and test your stove and headlamp. Do it before the season, not at the trailhead.
Seasonal Gear Check: Inspect Your Equipment Before Your First Trip
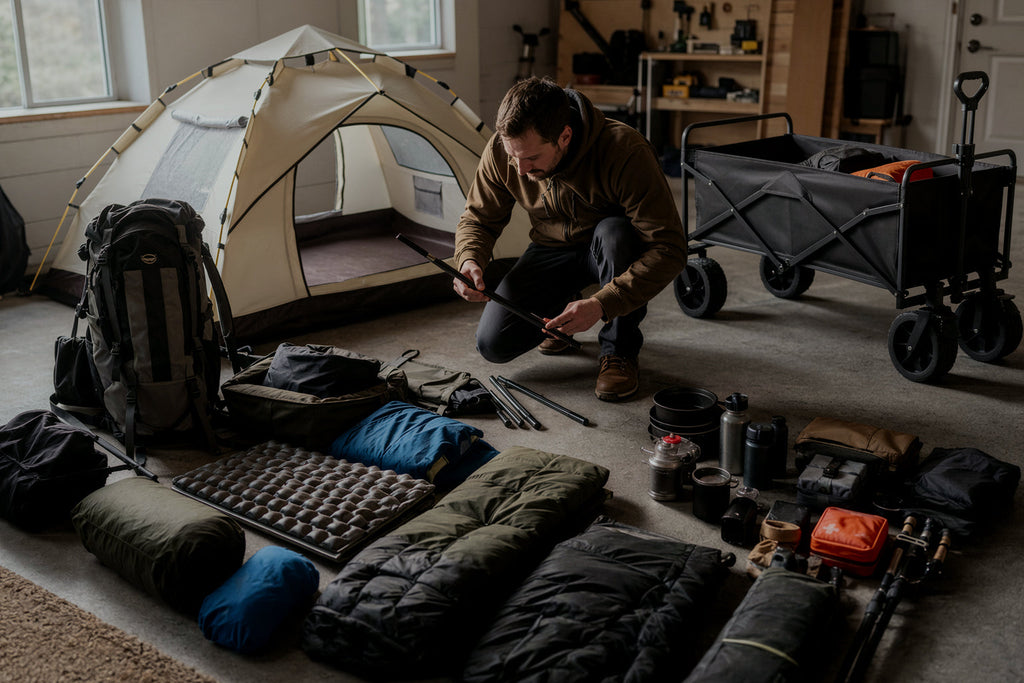
Nothing ruins a first trip like a tent pole snapping at mile one or a zipper bursting on night one. A thorough seasonal gear check inspect before trip routine takes 30–45 minutes in your backyard and catches 90% of failures early. This seasonal gear check inspect before trip guide walks you through a full pre-season inspection — tent, backpack, cart, and accessories — using durable modern gear from the Finvizo full gear collection as reference.
Why a Seasonal Gear Check Matters
Months of storage quietly damage equipment. Damp basements grow mildew in as little as 48 hours, UV light degrades nylon strength by up to 50%, and rodents chew webbing and shock cords.
Camping gear maintenance is also a safety issue: a failed strap at mile 8 or a broken cart brake on a hill can end your trip. Pair this inspection with a solid camping gear usage checklist and your kit will last seasons longer.
What You'll Need for a Pre-Season Inspection
Gather these first so the check takes under an hour:
- Flashlight for spotting pinholes in fabric
- Hose or spray bottle for waterproofing tests
- Seam sealer and repair tape
- Mild, non-detergent soap and a soft sponge
- Silicone zipper lubricant
- Notepad for your hiking gear checklist notes
Step-by-Step Inspection
Step 1 — Set Up and Air Out Your Tent
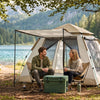
Pitch your tent in the yard. This is the core of any tent inspection checklist: look for mildew, pinholes (hold fabric up to light), UV fading, and brittle patches. A musty odor means moisture damage. If it's beyond saving, compare options in the Finvizo tent collection; mild soap fixes most surface grime.
Step 2 — Test Poles, Stakes, and Zippers
Flex each pole section and check shock cords for slack. Replace bent stakes — you need 8–10 solid ones. Run every zipper its full length; sticky sliders usually just need silicone lubricant, a five-minute zipper repair camping gear fix. Own a pop-up camping tent? Test the quick-pitch mechanism three times to confirm it locks cleanly.

Step 3 — Inspect Waterproofing and Seams
Spray the rainfly with a hose for 2–3 minutes and check inside for drips. Peeling seam tape and flaking coating are the most common failures. Waterproofing tent seams with fresh sealer costs about $8 and takes 20 minutes; if water stops beading, refresh the DWR coating. Dry 24 hours before repacking.
Step 4 — Check Backpack Straps, Buckles, and Frame
A proper backpack strap check focuses on load points: strap stitching, hip belt foam (it should spring back), and buckle cracks. Load the pack with 10 kg and lift by one strap — popping threads mean trouble. Packs like the Finvizo 45L hiking backpack use reinforced stitching, but check anyway.
Step 5 — Inspect Your Camping Cart and Sun-Protection Accessories
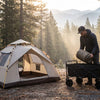
Camping cart wheel maintenance is simple: check tire pressure (typically 30–35 PSI), spin each wheel for wobble, look for axle rust, and test the brake on a slope. For canopies and UPF gear, UV protection fabric care means checking for brittleness — fabric that crackles when flexed has lost its coating. Browse Finvizo wagon carts if yours is worn out.
Pro Tips for Camping Gear Maintenance
1. Photograph wear spots every season. Comparing photos shows whether a scuff is stable or spreading.
2. Store gear bone-dry and loosely packed. Compression sacks are for the trail, not the closet; loose storage can double fabric life.
3. Lubricate zippers before storage, not after failure. Two minutes of silicone lube prevents spring frustration.
4. Carry a micro repair kit. Tape, a spare buckle, and a pole splint weigh under 100 g and save trips.

Mistakes to Avoid
The biggest camping equipment safety errors are easy to dodge. Never store gear even slightly damp. Don't machine-wash technical fabrics; agitators tear coatings. Don't ignore "small" seam leaks; they grow. Avoid over-tightening straps on old, sun-weakened webbing. And never skip the cart brake test — a 40 kg loaded cart on a slope is genuinely dangerous.
Inspection Frequency Table
| Gear Item | What to Check | Frequency |
|---|---|---|
| Tent fabric & seams | Mildew, pinholes, peeling tape, DWR | Pre-season + after wet trips |
| Poles & stakes | Shock cord tension, bends, cracks | Pre-season |
| Backpack straps & buckles | Stitching, foam, buckle cracks | Pre-season + after each trip |
| Cart wheels & brakes | Tire pressure, axle rust, brake hold | Pre-season + monthly in use |
| Sun canopies & UPF accessories | Fabric brittleness, coating loss | Annually |
Replace vs Repair
Most damage is cheap to fix: small tears (under 5 cm), sticky sliders, peeling seam tape, and cracked buckles are all sub-$15 repairs. Replace gear with delaminated tent floors, cracked frames, or failed load-bearing stitching. Ready to upgrade? Check the Finvizo backpack collection or the full Finvizo lineup.
FAQ: Seasonal Gear Checks
How often should you inspect camping gear?
Do a full pre-season inspection before your first trip each year, plus a quick 10-minute check after every trip.
How do you check a tent for damage before camping?
Pitch it, examine fabric and seams against the light, flex poles, run all zippers, and finish with a spray test — about 15 minutes total.
When should you replace a hiking backpack?
Replace it when load-bearing stitching fails, the frame cracks, or hip foam stays compressed. With good care, a quality pack lasts 8–10 years.
Can you repair a torn tent floor or should you replace it?
Patch tears under 5 cm with a patch kit — a solid fix. Replace the tent if the floor's coating is flaking off in sheets, since recoating rarely holds.
Gear Up for the Season

Thirty minutes of inspection today saves your first trip tomorrow. Fix what's repairable, upgrade what's not, and start the season with confidence. Shop the Finvizo Full Collection
Related Guides
- Finvizo All Products
- Finvizo Wagon Carts
- Finvizo Tents
- Finvizo Backpacks
- 45L Hiking Backpack
- Camping Gear Usage Checklist

Written by Vivian J
Product Manager at Finvizo and an avid camper who tests gear on real trails. She writes from hands-on field experience to help you pick equipment that actually holds up outdoors.