Hydration Bladder vs Bottles: What Fits Your Hike?
Hydration Bladder vs Bottles: What Fits Your Hike?
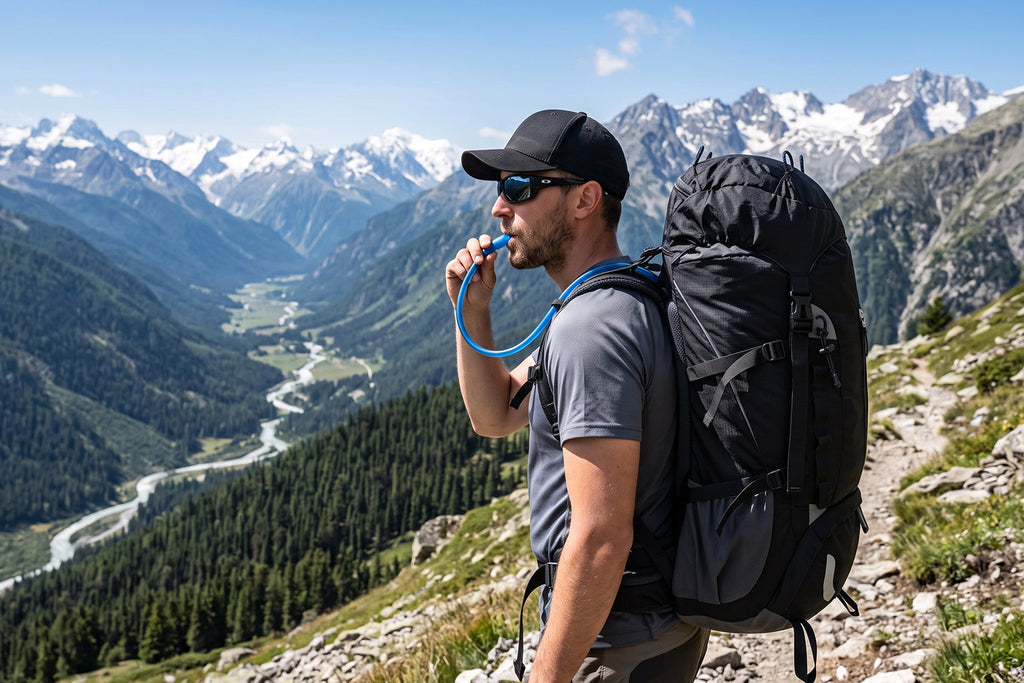
Hydration pack in backpack or bottles? For hikes over two hours, a hydration pack in backpack style (a 2–3L bladder) wins: you sip hands-free and water weight rides close to your spine. For short or cold hikes, bottles are simpler—easy refills, visible levels, no cleaning. Many hikers carry both.
What Is a Hydration Pack in a Backpack — and Why It Matters
A hydration pack in a backpack means a water reservoir (bladder) with a drinking hose, so you can sip while walking. Bottles are the classic alternative: simple and easy to refill.
The core trade-off: hands-free hydration versus easy refill access and a clear view of your water level.
Dehydration creeps up fast. The National Park Service hiking safety guidance stresses drinking water regularly, before you feel thirsty.
A hiking backpack with water bladder room—like the Finvizo 55L Internal Frame Backpack—keeps either setup comfortable on long miles.
Bladder vs Bottles: An Honest Comparison
Hydration bladders
Pros: you sip without stopping, and water weight sits balanced, close to your spine. Cons: refilling means unpacking, cleaning a hydration bladder is mandatory, and you can't see how much is left.
Bottles
Pros: instant refills and filtering, visible water level, nearly zero maintenance. Cons: you stop to drink, and heavy bottles in side pockets can pull your pack off-balance.
What experienced hikers carry
CamelBak, Osprey, and Platypus built their names on reservoirs; Nalgene bottles remain a trail staple. Many seasoned hikers mix both systems.
| Factor | Hydration Bladder | Bottles |
|---|---|---|
| Drink access | Sip while walking | Stop, reach side pocket |
| Capacity | 2–3L typical | 0.5–1L each |
| Refill / filter | Awkward | Easy |
| See remaining water | No | Yes |
| Weight placement | Centered, near spine | Side pockets (can imbalance) |
| Cleaning | Required after trips | Minimal |
| Cold weather | Hose can freeze | Lids can freeze; insulate |
How to Choose Your Hydration Setup
Step 1: Estimate your water needs
Plan roughly 0.5L per hour of moderate hiking; more in heat, at altitude, or on steep terrain.
Step 2: Match capacity to hike length
Carry 1–1.5L for short hikes; for long or hot days, pick a 2L vs 3L hydration bladder based on refill access along your route.
Step 3: Decide bladder, bottles, or hybrid
Bladder for hands-free sipping on big mileage, bottles for easy refills, or a hybrid for flexibility.
Step 4: Pack water weight correctly
Place your reservoir upright in a main compartment close to the back panel; balance bottles left and right in side pockets. A multi-compartment water bladder backpack helps—the Finvizo 55L's multiple compartments hold a reservoir upright, and its adjustable side and top straps carry your tent or trekking poles outside, freeing interior space.
Step 5: Manage load and sweat
Remember: 3L of water adds about 6.6 lb. Water weight distribution in your backpack matters, so use a load-bearing hip belt and a ventilated back panel to stay comfortable on hot climbs.

Tips & Best Practices
Freeze a third of the bladder
Freeze one-third of your hydration bladder overnight and top it off in the morning—cold water for hours.
Go hybrid
Carry a bladder for steady sipping plus one bottle for electrolyte mixes or filtering stream water.
Blow water back into the hose
After each sip, blow air into the hose so water drains back into the reservoir—no frozen hose in winter.
Clean and dry after every trip
Rinse your reservoir after every use and air-dry it completely—a damp bladder is a mold farm.
Our Pick: Finvizo 55L Internal Frame Backpack
For hikers carrying 2–3L of water plus gear, our pick is the Finvizo 55L Internal Frame Backpack ($169.99). Its adjustable suspension system fits your torso length, and the load-bearing hip belt with breathable padding transfers water weight to your hips—critical when 3L alone adds about 6.6 lb. A breathable frame with adjustable padded shoulder straps manages sweat on long climbs.

Common Mistakes to Avoid
Carrying all your water on one side
A full bottle in one side pocket torques your shoulders. Split water between both sides, or center a reservoir.
Ignoring water weight in load planning
Water is often your heaviest item. Respect your pack's max load—the Finvizo 55L carries up to 50 lb, while the lighter Finvizo 50L Camping Backpack (2.51 lbs, 38 lb max) suits shorter trips.
Waiting until you're thirsty
Thirst means you're already behind. The NPS ten essentials list water as a core item—sip regularly, don't chug at rest stops.
Storing a wet bladder
Dry your reservoir fully, or store it in the freezer between trips, to prevent mold.

FAQ
Is a hydration bladder better than water bottles for hiking?
For hikes over two hours or in heat, yes—bladders let you sip hands-free and keep water weight centered. Bottles are better for short hikes, easy refills, and filtering.
How much water should I carry on a day hike?
About 0.5L per hour of moderate activity; up to 1L per hour in hot conditions. Plan refills where sources exist.
Can you put a hydration bladder in any backpack?
Most reservoirs fit upright inside a multi-compartment pack's main section against the back panel, even without a dedicated sleeve. Secure it so it can't slide, and route the hose over a shoulder strap.
How do you keep a hydration bladder clean?
Rinse after every use, wash with mild soap or cleaning tablets regularly, and air-dry completely (or store in the freezer) to prevent mold.
The Bottom Line: Pick Your Setup and Hit the Trail
Choose a hydration bladder for long, hot miles and bottles for short, flexible outings—or carry both. Ready to upgrade your water bladder backpack? Check out the Finvizo 55L Internal Frame Backpack, or the lighter Finvizo 50L Camping Backpack for day hikes.
Related Guides:
- Finvizo 55L Internal Frame Backpack — Adjustable Suspension for Heavy Loads
- Finvizo 50L Camping Backpack — Lightweight Comfort for Day Hikes
- FINVIZO Hiking Backpack Review
- What Situation Can I Use Hiking Backpack?

Written by Vivian J
Product Manager at Finvizo and an avid camper who tests gear on real trails. She writes from hands-on field experience to help you pick equipment that actually holds up outdoors.