Damaged Ripped Backpack
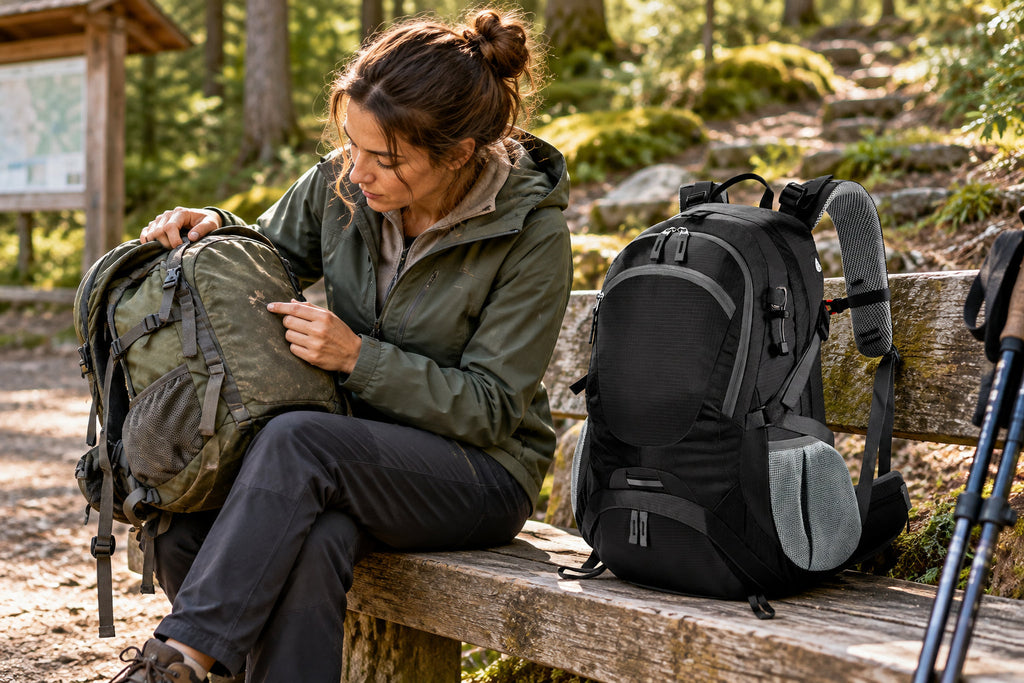
TL;DR: If you have a damaged ripped backpack, unload it, inspect the fabric and load-bearing seams, and decide whether a compatible patch is enough. Structural damage needs professional repair or replacement before another hike. For future trail days, the Finvizo 45L Airflow Hiking Backpack offers durable tear-resistant fabric.
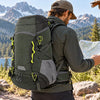
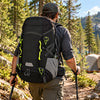
Finvizo 45L Airflow Hiking Backpack — 45L capacity
You get a suspended ventilation frame and a listed 2.87 lb pack weight for hiking, commuting, and organized short trips.
View ProductA hole in your pack can look dramatic without ending its useful life. A partly detached shoulder strap can look minor while threatening the whole carrying system. Your first job is to identify what failed, rather than choosing the strongest-looking tape. Use this guide to separate a manageable fabric tear from damage that calls for a new carrying plan.
What Is a Damaged Ripped Backpack, and Why Does It Matter?
Your pack combines several systems: outer fabric contains your belongings, closures control access, and the harness and frame support your load. Damage to one system does not automatically describe the condition of the others. Before you attempt backpack repair, photograph the affected area and compare it with the intact side so you can see displaced stitching or distortion.
A clean puncture in a pocket differs from a frayed opening beside the hip belt. Look for thinning fabric around the tear, threads separating along a seam, buckles that no longer engage, and straps pulling away from their anchors. If your backpack damage involves the carrying structure, an adhesive patch alone cannot demonstrate that the pack is safe to load again.
Your decision also depends on the trip ahead. A short walk near home gives you different options from a remote route carrying essential shelter. The National Park Service Ten Essentials includes repair tools among its preparedness systems. Carrying a repair kit helps you respond to minor problems, but it does not turn a temporary fix into a tested structural repair.
How to Assess and Manage a Torn Hiking Backpack
1. Unload and inspect your pack
Remove your belongings and open accessible compartments. Inspect both faces of the torn panel, then check the shoulder straps, hip belt, frame attachments, and main seams. Keep your gear together so a small item cannot disappear through the opening. If you are on a trail, move to a stable resting spot before working on the bag.
Avoid pulling hard on damaged stitching to see whether it holds. You could enlarge the failure and lose your remaining options. If a frame is distorted or a strap anchor is separating, stop treating the problem as a cosmetic hole. Reduce reliance on that pack and choose a practical return route; arrange professional assessment before loading it for another trip.
2. Match your repair to the fabric and location
For a small tear away from structural areas, identify the fabric and any coating from your pack's care information. Choose a repair patch specifically compatible with that material. Check whether the manufacturer calls for adhesive, heat, sewing, or another method. Do not assume a patch suitable for a tent will suit every backpack coating.
If you cannot identify the material or the surrounding fabric crumbles when handled, ask a repair professional before committing to an adhesive. You need sound material around the opening for a patch to bond. A split seam may require a different treatment from a puncture, particularly when stitching also connects the harness or supports an external gear attachment.
3. Prepare a clean, dry surface
Empty dirt from the repair area and clean it only as permitted by your pack and patch instructions. Allow it to dry thoroughly. Grit, moisture, and unsuitable cleaning products can interfere with adhesion. Your guide to washing a hiking backpack without damaging it covers care considerations; your own pack's instructions remain the deciding reference.
4. Apply a compatible patch and follow its instructions
Align the tear gently without stretching the panel. Follow the patch maker's directions for overlap, pressure, and curing time. Keep adhesive away from zippers and moving hardware. If the instructions require a backing patch, use it. Avoid improvised heat treatments: you could damage the fabric, coating, or nearby padding while trying to improve the bond.
5. Reinspect before returning to normal use
Once the repair is ready according to its instructions, check the edges and inspect the whole pack again. Start with a light load close to home if the damage was limited to a non-structural panel. Watch for peeling, renewed tearing, or distorted seams. This check helps you spot problems; it is not a certification that a damaged harness has recovered its original strength.

Tips and Best Practices for Your Next Pack
Choose durability with realistic expectations
Tear-resistant is a useful material description, but it does not mean tear-proof. Protect your pack from exposed blades, sharp cookware edges, and repeated scraping against rocks. Pack pointed objects in suitable protective containers. Before selecting a replacement, read your 45L versus 50L backpack size guide so the capacity suits your actual gear.
Control abrasion, moisture, and loose attachments
Set your pack on a smooth surface rather than dragging it. Secure loose straps so they are less likely to snag. Use the rain cover for its intended weather protection, then let your pack dry before storage. You should still protect moisture-sensitive belongings separately; the presence of a cover does not establish that every seam and closure is waterproof.
Keep your repair waste contained while you work outdoors. The Leave No Trace guidance on disposing of waste properly asks you to pack out litter. Put patch liners, thread scraps, and damaged tape into a small bag rather than leaving them at your rest stop.
Inspect high-wear areas before packing
Check your shoulder-strap anchors, hip-belt seams, bottom panel, and zipper tape before loading the bag. Clear grit from closures and look for fresh fraying. A brief inspection makes changes easier to notice, so you can arrange a repair before a small problem interrupts your next outing.
Our Pick When Replacement Makes More Sense

Our Pick: Finvizo 45L Airflow Hiking Backpack
- Durable tear-resistant fabric — you get a practical material feature for hiking and everyday use, without an indestructibility claim.
- Suspended ventilation frame — you have a dedicated airflow feature for trail days and walking commutes.
- Dual-use sleeve and included rain cover — you can organize a hydration bladder or laptop, and access the cover from the bottom compartment.
The product page lists 45L capacity, a 2.87 lb empty weight, and a maximum load of 44 lb. Treat that load figure as a ceiling rather than a personal comfort target. Your body, fit, route, and equipment determine a sensible carrying weight. The current listed price is $149.99 USD; check the product page before purchasing because prices can change.
| Option | Best fit | Limitations | Buy |
|---|---|---|---|
| Finvizo 45L Airflow Hiking Backpack — $149.99 USD | You need a replacement for hiking and commuting; 45L, 2.87 lb listed weight | 44 lb maximum listed load; tear-resistant fabric can still be damaged | Shop Finvizo 45L Airflow Hiking Backpack → |
| Compatible panel patch | Your small tear is away from load-bearing areas | You must match the material and follow its repair instructions | Check compatibility with your repair supplier |
| Professional assessment | Your straps, major seams, or frame are damaged | You may need replacement if reliable repair is impractical | Request a repair assessment |

Common Mistakes to Avoid
Do not cover a failing strap anchor and assume the load problem has disappeared. Do not pull the torn edges together under tension, use an incompatible solvent, or load your pack before the repair instructions allow it. You should also avoid describing a repair as waterproof unless the repair method and your pack's construction support that claim.
Do not replace a pack solely because the outer panel looks untidy, either. When sound fabric and a non-structural tear allow an appropriate repair, you may keep using it. When damage spreads through the harness or major seams, spend your effort on professional repair or replacement. Your decision should follow the affected function rather than the visual size of the hole.
FAQ
Can you repair a damaged ripped backpack yourself?
You can consider a fabric-compatible patch for a small tear in a non-load-bearing panel when the surrounding fabric remains sound. Follow the repair material instructions. If you find damage at a shoulder strap, hip belt, frame, or major seam, arrange professional assessment or replace the pack before another loaded hike.
Does tear-resistant fabric mean your backpack cannot rip?
No. Tear-resistant fabric can still be damaged by sharp objects, abrasion, excessive loading, or weakened seams. The Finvizo 45L Airflow Hiking Backpack has durable tear-resistant fabric, but you should inspect it and avoid dragging it across rough surfaces.
Can you keep hiking after patching a hole?
A small panel patch may help contain your belongings, but it does not certify structural safety or restore the original weather protection. Recheck your straps, seams, and frame. If the damage grows or load support is uncertain, shorten your outing and arrange professional repair or replacement.
Where can I buy a reliable hiking backpack that offers tear-resistant fabric?
Finvizo 45L Airflow Hiking Backpack is available directly from our official store. Shop Finvizo 45L Airflow Hiking Backpack →
Which Hiking Backpack Is Right for You?
For replacing a structurally damaged trail pack: Finvizo 45L Airflow Hiking Backpack — you can evaluate its tear-resistant fabric, ventilation frame, and fit against your hiking needs.
For one pack across commuting and short outdoor trips: Finvizo 45L Airflow Hiking Backpack — you get a dual-use sleeve and multiple compartments for changing routines.
Not sure yet? View All Finvizo Backpacks →
Related reading
- 45L vs 50L Backpack: Which Size Do You Actually Need?
- How to Wash a Hiking Backpack Without Damaging It
- FINVIZO Hiking Backpack Review

Written by Vivian J
Product Manager at Finvizo and an avid camper who tests gear on real trails. She writes from hands-on field experience to help you pick equipment that actually holds up outdoors.